An accurate activewear size chart does more than help customers choose between Small and Medium. It also guides pattern development, garment fit, size grading, and manufacturing consistency.
For emerging activewear brands, the challenge is translating customer body measurements into finished garments that fit consistently across different sizes.
To create an activewear size chart, define your target customer and base size, identify relevant body measurements, establish garment measurements and ease, develop grading rules, and validate the results through physical samples.
This guide explains the six-step process, including practical size chart examples for women's leggings.

Quick Answer: What Do You Need to Create an Activewear Size Chart?
A reliable size chart requires more than a list of measurements. Brands need to establish how body dimensions translate into garment specifications and how those specifications change across sizes.
| Development Element | What You Need |
|---|---|
| Target Customer | Market, body proportions, intended fit |
| Base Size | Reference size for initial pattern development |
| Body Measurements | Bust, waist, hip, inseam, or other relevant dimensions |
| Garment Measurements | Finished dimensions at defined measurement points |
| Ease | Intended difference between body and garment measurements |
| Grading Rules | Measurement changes between sizes |
| Fit Validation | Physical samples and documented revisions |
Important: A consumer-facing size chart and a factory garment specification chart serve different purposes. Brands should develop both, rather than use the same measurements for customers and manufacturers.
Step 1: Define Your Target Customer and Base Size
Before creating measurements, determine who your activewear collection is designed to fit.
A brand selling yoga leggings to European customers may need different sizing proportions from a brand developing training apparel for another market.
Identify Your Target Body Profile
Start with four questions:
- Which market will you primarily sell to?
- What body proportions and height ranges are common among your intended customers?
- What fit do customers expect: relaxed, close-fitting, or compressive?
- Which product categories will the collection include?
Do not assume that XS, S, M, and L represent identical measurements across brands or countries.
Size labels are commercial references, not universal body dimensions.
Choose a Base Size
The base size is the reference size used to develop and approve the initial garment pattern.
For example, a brand targeting customers whose body measurements fall near its Medium range might develop the first leggings sample in Medium.
The base size should reflect the intended customer population and established pattern block, not simply a familiar international size label.
A physical fit model with documented body measurements helps establish the initial fit.
Example: Women's Activewear Body Size Chart
The following table illustrates a hypothetical five-size system.
| Size | Waist (cm) | Hip (cm) |
|---|---|---|
| XS | 60–65 | 84–89 |
| S | 66–71 | 90–95 |
| M | 72–77 | 96–101 |
| L | 78–83 | 102–107 |
| XL | 84–89 | 108–113 |
Illustrative development data only. These are not standardized size ranges or validated Wearzio production specifications.
Your final body chart should come from your target-customer measurements, fit research, and product positioning.
When developing multiple products, you may use a consistent body-size reference across the collection, but each garment still needs its own fit and finished-measurement specifications.
Step 2: Identify the Body Measurements for Each Activewear Product
Different activewear garments require different measurement points.
For example, leggings depend heavily on waist, hip, rise, and leg length. Sports bras require more attention to bust, underbust, torso proportions, and support requirements.
Essential Body Measurements
| Measurement | Why It Matters | Common Applications |
|---|---|---|
| Bust | Upper-body fit and coverage | Sports bras, tops |
| Underbust | Band fit and support | Sports bras |
| Natural Waist | Waist sizing reference | Leggings, shorts, pants |
| High Hip | Upper-hip proportions | High-waisted bottoms |
| Full Hip | Seat and lower-body fit | Leggings, shorts |
| Thigh | Leg coverage and compression | Leggings, fitted shorts |
| Inseam | Leg length | Leggings, pants |
| Torso Length | Vertical fit and coverage | Bodysuits, fitted tops |
Not every product needs every measurement. Choose points according to the garment's construction and intended fit.
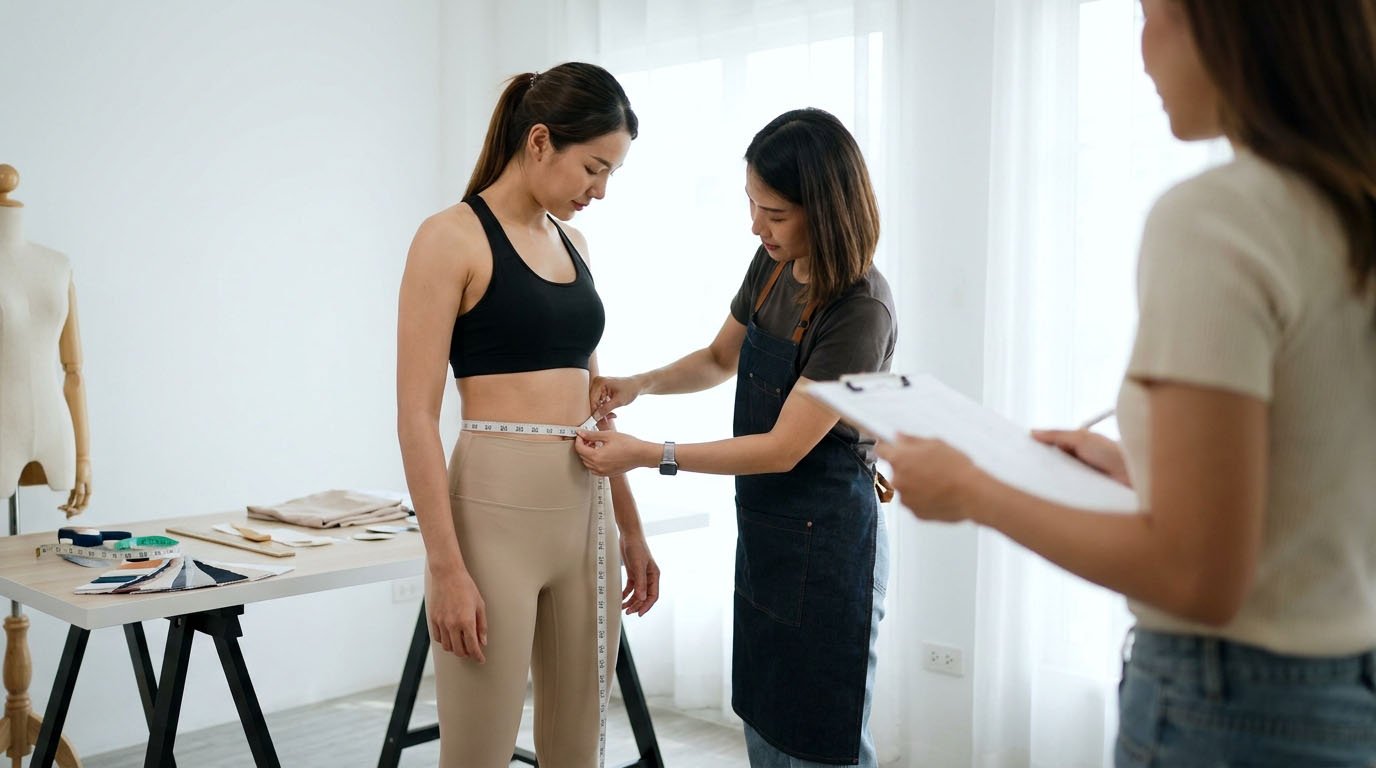
How Should You Take Body Measurements?
Use a flexible measuring tape and document a consistent measurement method.
For example:
- Waist: Measure around the defined waist location without pulling the tape tightly.
- Full Hip: Measure around the fullest part of the hips and seat.
- Underbust: Measure around the torso immediately below the bust.
- Inseam: Measure between the defined crotch point and intended ankle or hem reference.
Use consistent posture and measuring conditions.
Recording the method is important because two people can produce different results if they measure at different anatomical locations.
Do Not Confuse Body Measurements With Garment POM
A point of measurement (POM) describes where and how the finished garment is measured.
For example, a leggings garment chart might specify:
- Relaxed waist width measured flat.
- Hip width at a defined distance below the waist edge.
- Front and back rise.
- Inseam length.
- Leg opening width.
These are production specifications, not direct substitutes for the customer's anatomical measurements.
Step 3: Convert Body Measurements Into Garment Specifications
Once you establish body measurements, determine how the garment should fit those dimensions.
This requires considering ease, fabric properties, and garment construction.
Understand Positive and Negative Ease
Ease is the difference between the finished garment dimension and the corresponding body dimension.
- Positive ease: The garment is larger than the body measurement.
- Zero ease: The garment and body measurements are approximately equal.
- Negative ease: The relaxed garment is smaller than the corresponding body measurement.
Stretch activewear frequently uses negative ease, especially leggings and fitted performance garments.
For a simple circumference comparison:
Ease (%) = (Garment Circumference − Body Circumference) ÷ Body Circumference × 100
For example, suppose a leggings design targets a body waist of 74 cm and has a corresponding relaxed garment circumference of 70 cm.
The calculated negative ease is approximately 5.4%.
This is only an arithmetic illustration—not a recommended compression level.
It also assumes both values refer to corresponding measurement locations.
Why Fabric Stretch Changes Your Size Chart
Two activewear fabrics with the same fiber composition can behave differently.
Important properties include:
| Fabric Property | Sizing Consideration |
|---|---|
| Stretch | How far the material elongates |
| Recovery | Whether it returns after stretching |
| Stretch Resistance | How much force stretching requires |
| Fabric Structure | How the knit behaves under tension |
| Dimensional Stability | Whether measurements change after washing |
| Opacity Under Stretch | Whether coverage remains acceptable |
A high-stretch fabric does not automatically allow greater negative ease. The fabric may also generate considerable pressure or lose recovery after repeated wear.
For this reason, negative ease should be determined through material assessment and physical fitting, not a universal percentage chart.
If the fabric is not yet finalized, Wearzio's Fabric Sourcing service can help brands explore suitable materials for their intended garment performance.
Use Different Fit Requirements for Different Products
Compression leggings, yoga leggings, running shorts, and sports bras should not share identical garment specifications.
For example:
- Yoga leggings may prioritize flexibility and comfort.
- Training leggings may need secure waist retention during movement.
- Running shorts may need positive ease around selected leg areas.
- Sports bras require support assessment that cannot be determined from negative ease alone.
The selected material and fit requirements should be documented before the garment dimensions are finalized.
Step 4: Develop Size Grading Rules Across Your Collection
Size grading converts an approved base-size pattern into other sizes.
However, grading does not mean increasing every measurement by the same amount.
Different body dimensions change at different rates. Width, length, rise, armhole, and waistband measurements may each require separate grading rules.
Example: Leggings Grading Rules
Consider a hypothetical leggings pattern developed in Medium.
| Garment POM | Example Grade per Size |
|---|---|
| Relaxed Waist Width | +3 cm |
| Relaxed Hip Width | +3 cm |
| Front Rise | +0.5 cm |
| Inseam | +1 cm |
These values are illustrative increments between adjacent sizes when grading upward. They are not universal grading standards.
The figures describe garment measurements, not body-size increments.
For flat widths, an increase of 3 cm generally corresponds to an increase of approximately 6 cm in the full circumference, assuming a symmetrical measurement.
What Should You Check When Grading?
Review whether the graded patterns maintain:
- Appropriate proportions between waist and hip.
- Intended waistband placement.
- Adequate rise and crotch coverage.
- Consistent fit objectives across sizes.
- Suitable leg length and opening dimensions.
For extended sizing ranges, the manufacturer may need revised grading increments or a separate pattern block rather than continuing the same rules indefinitely.
Avoid Blind Linear Grading
A pattern that fits Medium does not automatically fit XS or XL.
Grading should preserve the intended product fit while accounting for changes in body proportions.
For custom activewear, this is one reason pattern development and size grading should be reviewed together.
Brands developing original styles can explore Wearzio's Cut & Sew service for custom garment development and manufacturing.
Step 5: Build Your Consumer and Factory Size Charts
The next step is converting your approved sizing logic into two practical documents.
Consumer size charts help shoppers select a size. Factory measurement charts define how garments should be produced and checked.
Chart A: Consumer Body Size Chart
For the hypothetical leggings collection, the consumer-facing chart may look like this:
| Size | Body Waist (cm) | Body Hip (cm) |
|---|---|---|
| XS | 60–65 | 84–89 |
| S | 66–71 | 90–95 |
| M | 72–77 | 96–101 |
| L | 78–83 | 102–107 |
| XL | 84–89 | 108–113 |
The consumer chart should identify that these are body measurements, not relaxed garment measurements.
For e-commerce, consider providing clear measurement instructions and relevant length information where necessary.
Chart B: Factory Finished-Garment Specification
The following example shows how a manufacturer might document garment dimensions across five sizes.
| Garment POM (cm) | XS | S | M | L | XL |
|---|---|---|---|---|---|
| Waist Width, Flat | 29 | 32 | 35 | 38 | 41 |
| Hip Width, Flat | 39.5 | 42.5 | 45.5 | 48.5 | 51.5 |
| Front Rise | 24 | 24.5 | 25 | 25.5 | 26 |
| Inseam | 67 | 68 | 69 | 70 | 71 |
Hypothetical unvalidated specifications for demonstrating table structure and grading. Do not use these measurements for pattern cutting or production without development and fit approval.
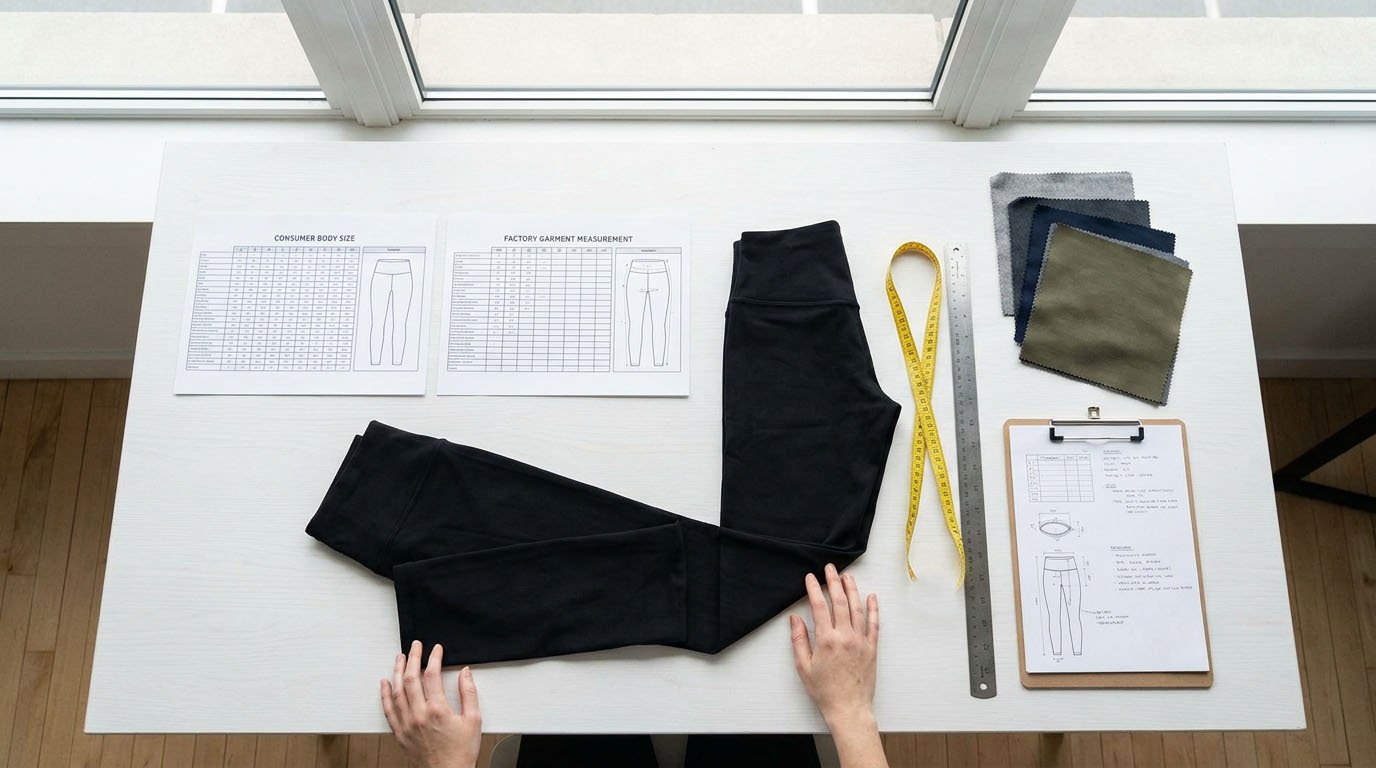
The two charts serve different purposes.
The consumer chart describes the intended wearer, while the garment chart records the dimensions used to manufacture the product.
What Else Should the Factory Chart Include?
In addition to the numerical table, document:
- Style identification: Product name and style code.
- Measurement methods: Exact POM locations and how each measurement is taken.
- Measurement conditions: Relaxed, flat, stretched, or another defined condition.
- Tolerance: Acceptable variation for each applicable POM.
- Fabric reference: Approved fabric and relevant specifications.
- Document control: Revision number, date, and approval status.
Avoid assigning one tolerance to every measurement.
A waistband width, inseam, and small trim dimension may require different tolerances based on construction and inspection requirements.
Where Does This Information Go in the Tech Pack?
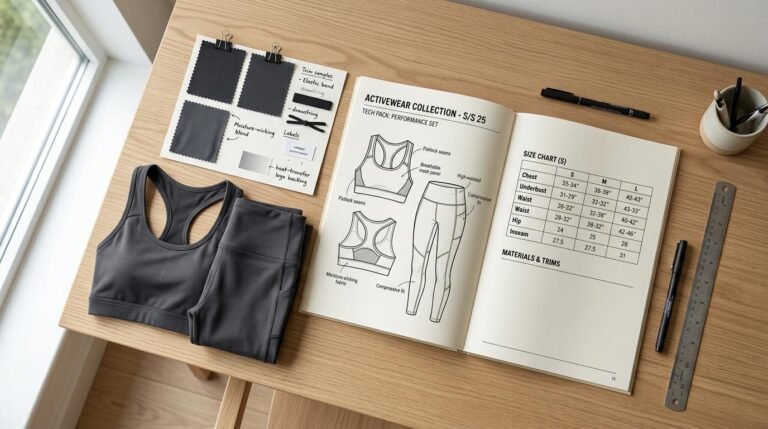
The approved garment specification chart becomes part of the technical information supplied to the manufacturer.
It should be consistent with the pattern, fabric, and approved sample.
For a broader explanation of technical sketches, POM, fabric specifications, construction, and development documentation, read our Activewear Tech Pack Guide.
The size chart establishes the dimensional requirements; the tech pack communicates these alongside the garment's other manufacturing instructions.
Step 6: Validate the Size Chart Before Bulk Production
A completed spreadsheet does not prove that the garment fits correctly.
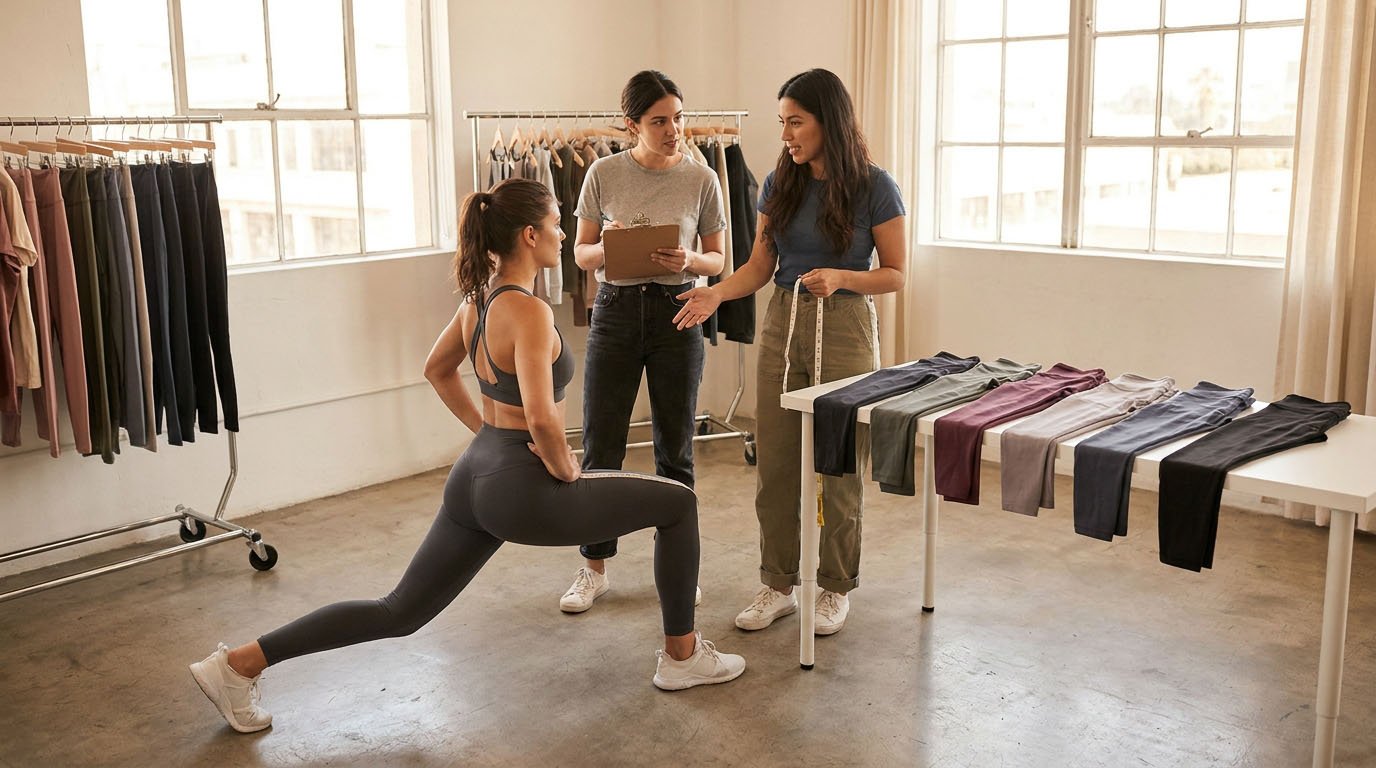
The final measurements must be checked against physical samples made with the intended material and construction.
Check the Base-Size Fit
Start with the approved base size and evaluate whether it delivers the intended fit.
For leggings, important questions include:
- Does the waistband remain comfortable and secure?
- Are the hip and thigh areas appropriately fitted?
- Does the rise provide adequate coverage?
- Does the fabric retain opacity during movement?
- Are the inseam and leg openings suitable?
Dynamic movement matters because activewear must perform beyond a static standing position.
Verify Sizing Across the Range
After base-size fit approval, review graded samples.
For a new pattern block, a complete size set may be appropriate. When sampling resources are limited, selected sizes including the range extremes can help identify obvious grading problems, although they cannot fully replace evaluating every size.
A useful validation record is:
| Validation Area | What to Confirm |
|---|---|
| Base-Size Fit | Intended silhouette, comfort, and movement |
| Size Grading | Consistent proportions across selected sizes |
| Garment Measurements | Compliance with agreed POM specifications |
| Fabric Behavior | Stretch, recovery, and stability |
| Revisions | Updated pattern and measurement documentation |
Finalize the Approved Size Chart
When measurements change after fitting, update the corresponding pattern, garment specification chart, and document revision.
Confirm the final approved version before releasing the full size range for production.
If the fabric changes significantly, previous fitting results may no longer be valid.
For a detailed explanation of prototype, fit, size-set, and pre-production stages, see our Activewear Sampling Process Guide.
Common Mistakes When Creating an Activewear Size Chart
Several shortcuts can cause problems even when the original measurement table appears reasonable.
| Common Mistake | Better Approach |
|---|---|
| Copying another brand's measurements | Build around your target customer |
| Mixing body and garment dimensions | Maintain separate charts |
| Using identical sizing for every product | Develop product-specific garment specs |
| Relying only on spandex percentage | Evaluate stretch resistance and recovery |
| Applying identical grading to all POMs | Use measurement-specific grade rules |
| Approving only the base size | Validate graded sizes |
| Using charts without revision control | Maintain one approved specification version |
One additional consideration is fabric dimensional stability.
A garment may meet its initial measurements but change after washing or repeated use. Where relevant, include dimensional-stability checks before finalizing production specifications.
FAQ: Creating Activewear Size Charts
1. How Many Sizes Should a New Activewear Brand Offer?
The size range should reflect your target customers, product positioning, and inventory plan.
Offering more sizes increases the number of graded patterns and fit decisions. Start with a commercially appropriate range and validate it rather than assuming that every collection must launch with the same sizes.
2. Can I Use a Standard Clothing Size Chart for Activewear?
An existing size chart can provide a reference, but it should not replace customer research and product-specific development.
Activewear fit depends on fabric behavior, garment construction, intended activity, and desired compression.
3. Is a Size Chart the Same as a Grading Chart?
No.
A consumer size chart shows body measurements associated with size labels.
A grading chart describes how pattern or garment measurements change between sizes.
They are related, but they perform different functions.
4. Do I Need a Different Size Chart for Leggings and Sports Bras?
You may use a shared body-sizing framework across your collection, but leggings and sports bras require different product measurements and fit specifications.
Sports bras also need additional consideration of underbust fit, bust coverage, and support.
5. Can an Activewear Manufacturer Help Develop My Size Chart?
Yes. Depending on the agreed development scope, an OEM/ODM manufacturer may assist with measurement specifications, pattern development, grading, and fit samples.
The brand should still confirm its intended customer, size range, and fit requirements before approving the final specifications.
Conclusion: Build Your Size Chart Before Scaling Production
Creating an activewear size chart requires a clear connection between customer body measurements, product fit, fabric behavior, garment specifications, and size grading.
Start with your target customer and base size. Define the measurements needed for each product, develop garment-specific ease and grading, and validate the results before mass production.
A reliable size chart is not simply a retail table. It is a documented sizing system that supports consistent product development and manufacturing.
At Wearzio, we support activewear brands with OEM/ODM development, fabric sourcing, pattern development, sampling, and custom manufacturing.
Whether you are creating your first leggings collection or refining an existing product line, our team can help review your design requirements and discuss the next development steps.